Naomi Doddington, one of this year's recipient of APTDC's Emerging Professional Sponsorship, attended IPTN's 2017 workshop in Detroit. The following is her summary of the workshop.
 The Preservation Trades Network’s annual conference, the International Preservation Trades Workshop, was held in Detroit this year. I was honored to receive the 2017 APT DC Emerging Professional Scholarship Program scholarship to attend the conference this year. IPTW consists of 2 ½ days of hands-on workshops where participants are able to interact with experts in different preservation trades.
Our host location this year was the Belle Isle Boat House, a once- magnificent club house that still serves as home base for a local rowing team…and was the site of the Olympic swim trials where Johnny Weissmuller, who would go on to play Tarzan in the 30s and 40s, qualified for the games. Upkeep on this site has suffered with the decline of private-club membership and some well-intentioned, yet ultimately destructive, maintenance decisions in the early 2000’s. This includes the use of a strong Portland cement stucco to cover the exterior, exacerbating an existing moisture problem that has caused significant rust-jacking of structural steel within the brick walls.
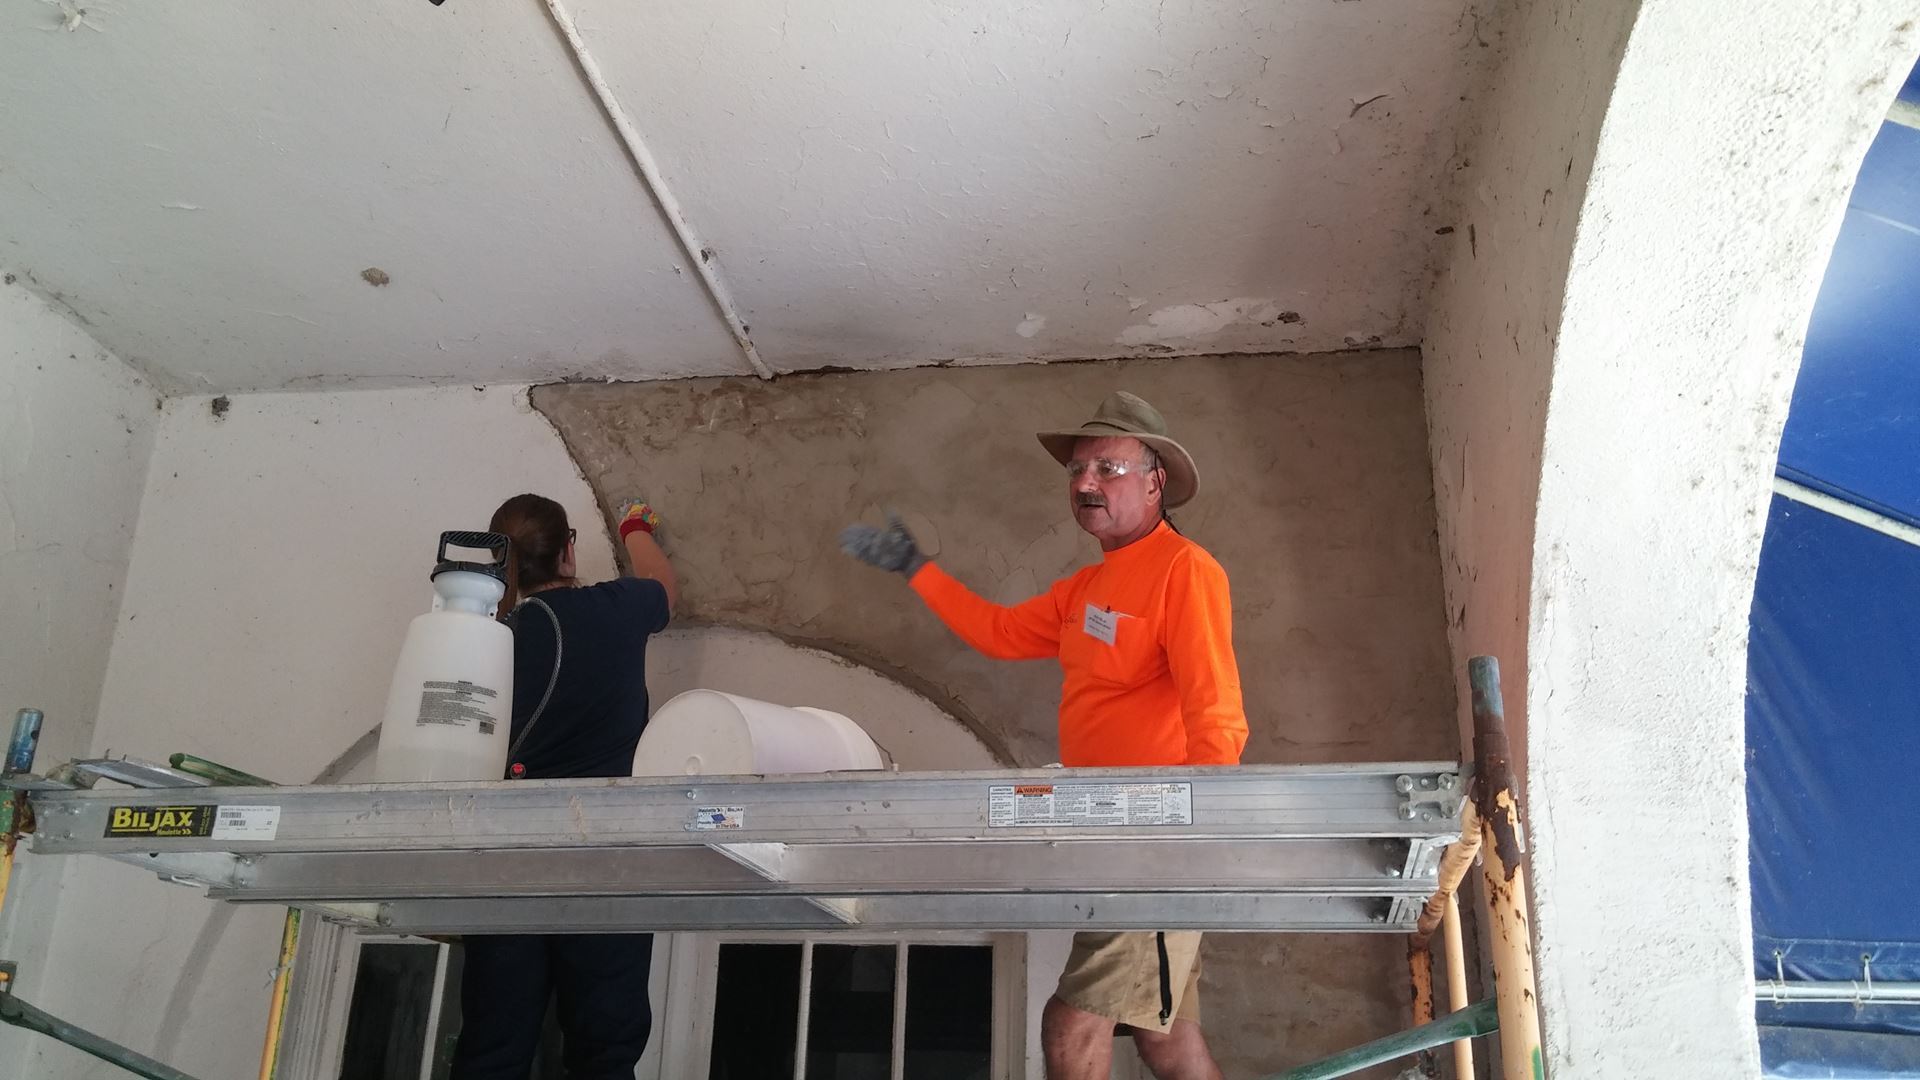 As part of its conference, some IPTW presenters utilize their skills to provide free work on the host site while they teach attendees about their work. In this photo, presenter Blair Bates discusses the process of repairing the stucco on the exterior of the building. The stucco applied in the 2000’s, with a high concentration of Portland cement, has already started to fail in certain places. Blair had been on site for a few days and had removed the unsound stucco from above a window near the entrance. He explained how he was using type “K” mortar mix for the new stucco. This mix is 1 part white Portland cement, 3 parts lime and 10 parts mason’s sand. This is a very soft, low-compression mix useful in this type of application. Horsehair not being as readily available as it once was, Blair has been using nylon fibers in the mix in its place. There are two main things I learned from Blair’s presentation. When using a float to smooth the surface of the stucco, Blair recommends holding it in your non-dominant hand and pull the float towards your body. In this manner, you are less likely to put too much pressure on the stucco in any given place. The second is a fun bit of trivia that could be useful sometime. The different mortar mixes are assigned every other letter of the phrase, “MASON WORK”. Additionally, you can tell the proportion of cement to lime in the mix based on its position within the word. “M” mix is 3 parts cement to 1 part lime. “S” is 2 parts cement to 1 part lime. “N” is 1 to 1. “O” is 1 part cement to 2 parts lime. Finally, “K” is the 1:3 mix as described above.
You may know that producing shellac involves beetles, but did you know how? I had always assumed we were pulverizing the little bugs and mixing it with a solvent to create the shiny topcoat (you know, like red food dye). In fact, the bugs are not sacrificed at all! The lac beetle sucks the sap out of a tree, then excretes the digested results in tunnels on the exterior of the tree. This sap/poo is scraped off the trees, processed, dried, and crumbled up. When mixed with denatured alcohol (or moonshine), it creates the high-gloss finish we associate with shellac. The color of the shellac is actually dependent on the type of tree that the beetles were extracting sap from. Mary Webb, of the National Parks Service Western Archaeological and Conservation Center gave a great presentation on environmentally friendly(er) finishes for wood as well as the best pro-environment ways to remove old finishes. As you can imagine, my fellow preservationists, older techniques are generally less toxic than the 20th century paints and stains that we have to so often protect ourselves from when we work in our treasured buildings. Long live linseed oil!
There were several presentations on windows. Andrea Sevonty and her employees had dismantled the one stained glass window in the club and were re-making the piece. She greatly lamented that poor solder work (especially previous amateur repair efforts) had required re-making the window as the cames themselves had been in good shape. The crew had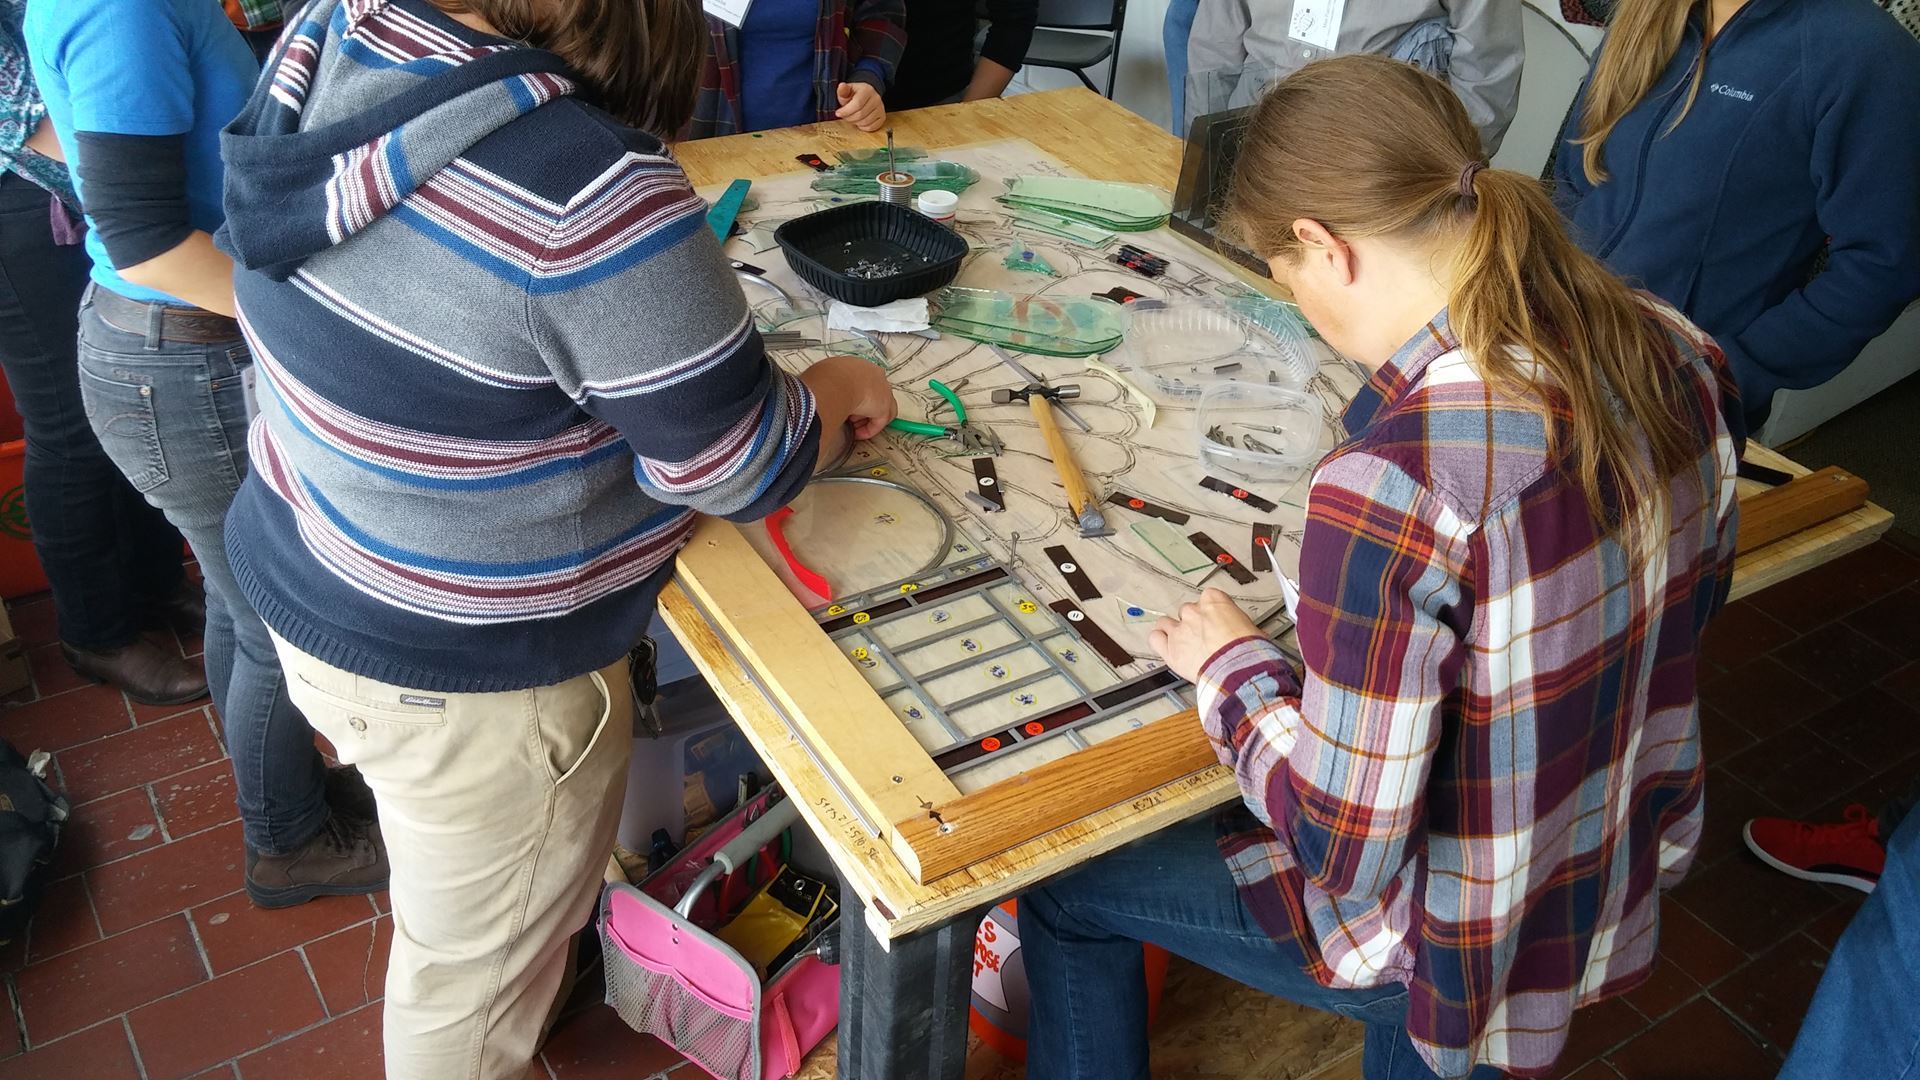 traced the window while still intact and was using this as a guide to the reassembly, with each piece of carefully labeled glass corresponding to a number on the cartoon. Andrea explained the easy test to tell if the cames (those are the metal pieces between each piece of glass) are lead or zinc. Using your fingernail, try to scratch the came. If you are successful, then you know the came is lead. If not, it is the harder zinc. You may think that with a design comprised of mainly clear glass, replacing broken pieces would be a breeze. Andrea actually explained it can be rather tricky as “clear” glass can skew pink, purple, or even yellow depending on the makeup of the glass! Kevin Doenir and his crew from the Window Preservation Alliance spent their time repairing a pair of round clerestory windows from the Boat House’s beautiful double-height main hall. I’ve done a fair bit of window work in my day, but I did learn a neat trick. This works well when working on a window you’ve removed from its opening. After glazing with a linseed oil based putty, sprinkle a little bit of whiting in the center of the glass pane. Using a dry brush, swirl the whiting all around the pane, working from the center out to the edges. This removes any last vestiges of oil from the center of the glass, resulting in sparkling window panes ready for paint and reinstallation!
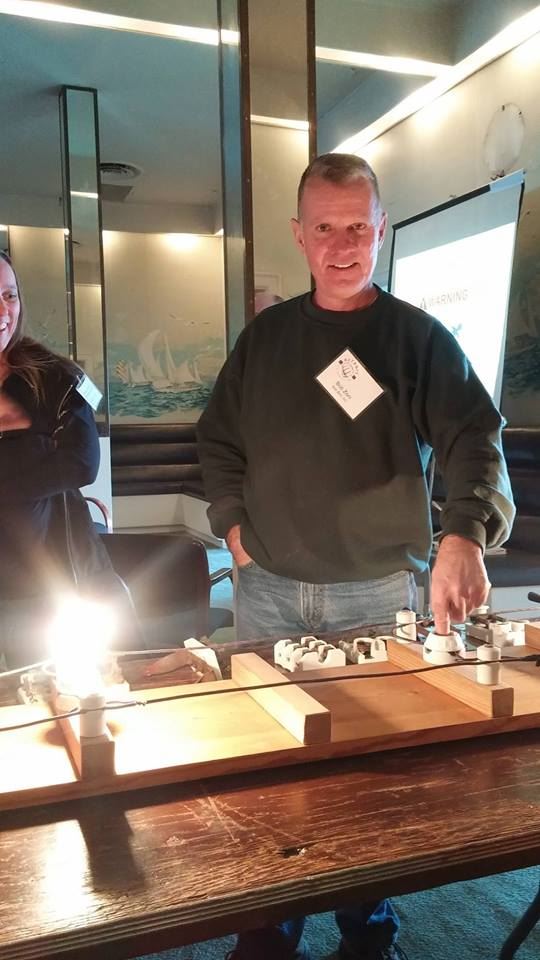 Is Bob insane? This is real knob and tube lighting…and he has his finger in the socket (after licking it first no less)! Not according to Peter Janko. Although Peter explained that knob and tube is not inherently dangerous, it runs so counter to what we all understand of electricity. It does generate a fair bit of heat, which is meant to dissipate into the air around the wires (thus why it is held at a remove from the surface). Only when we insisted on insulating with cellulose did we create a problem. By surrounding the wire with cellulose, we forced the heat to dissipate into a highly flammable material. Even so, Peter has discovered a way to use existing knob and tube, or even install a new system, and still meet code. The secret lies in LED technology. If you come across a system that is still wired, you can disconnect any wire that runs to a plug (they do overheat badly and won’t pass code), connect the system to a low voltage source (four E batteries for the example where our volunteer stuck his wet finger in the socket…and you can see how bright the bulb next to it is lit) and special low-voltage LED bulbs. He has had success using this system in new construction by calling it “Decorative Low-Voltage LED Lighting”. You can even buy a 12v battery (often used as backup power for a computer) to run your system. Simply buy a battery maintainer (like for a snowmobile) to recharge your battery periodically and you’ll have a power-outage proof system.
Sharpening tools is vital to many trades. Rudy Christian presented his preferred method for sharpening tools. He began with a humble chisel. Starting with a water bath wet-stone grinder with a 250 grit wheel, Rudy laid the primary bevel (the big angle you picture when you think of a chisel) against the spinning wheel, allowing it to remove just a sliver of the metal. With a 250 grit waterstone (kept in his cooler full of water), Randy then manually smoothed the high spots left by the machine. He moved on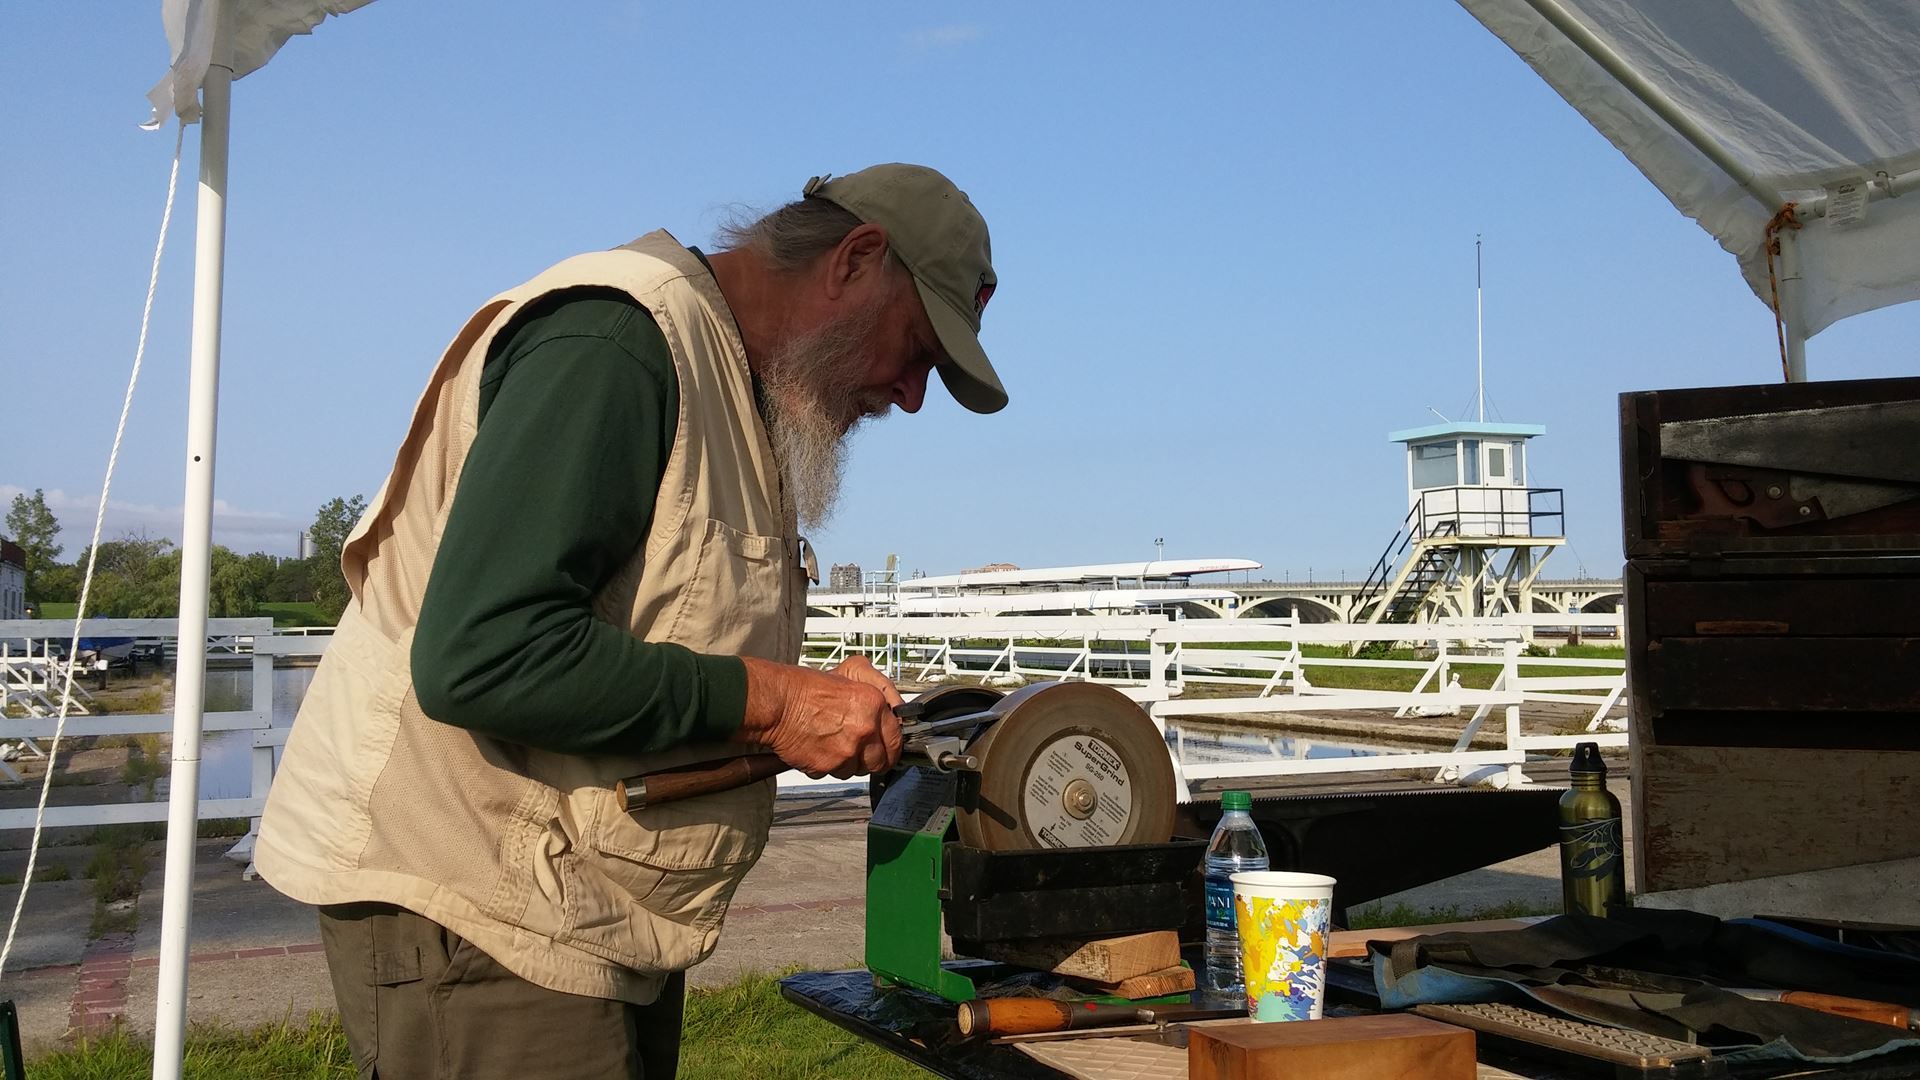 to an 800 grit waterstone next, making sure that the primary bevel was flat against each stone on every pull. Then he did something I never knew to do. He pulled out a 3,000 grit diamond waterstone (it looks a bit like a waffle iron griddle) and laid the chisel’s primary bevel against the surface. Before pulling the chisel towards his body he lifted the chisel up just 5%. In this way, he put a micro-bevel on the very tip of his chisel. This micro-bevel helps to move the wood away from the main bevel, allowing for faster and neater work.
I’ve saved the best for last! I’ve done a fair bit of decorative finishing in my day. Wood graining, marbling, Venetian plaster, I was intrigued to learn there was a technique I had never even heard of. This is the Italian 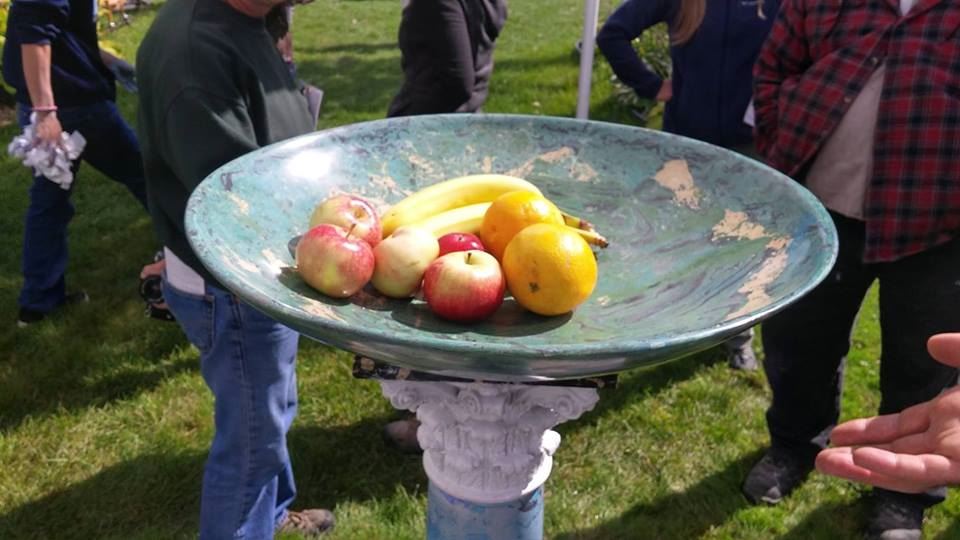 technique called Scagliola. Mixing gypsum plaster, powdered pigment, and water with glue (to slow the plaster setting), scagliola replicates the look of marble in a time-consuming, but less expensive, manner. You are also limited only by your imagination as to the color and color-combinations that you want to use. I actually attended two sessions on this technique. The first was a hands-on presentation where I got to work with other attendees to mix balls of this plaster, cutting and mixing them with others to create a gradation of colors from blue to teal. We cut these balls into smaller pieces, then laid them randomly on a greased form (we were making a bowl) then pushed and smoothed the colors together to form a consistent thickness over the mold. Using a putty knife, David Hayles, our fearless instructor, cut veins into the plaster. We filled these with a yellow-ochre batch of the same plaster mix then smoothed the veins closed. Finally, David cut another set of veins and we filled them with a deep brown plaster mix. With lots and lots and lots and lots of sanding, our bowl will look somewhat like the one in the photograph. The second scagliola session I attended was David showcasing how a similar technique is used to decorate a column. This involves raw silk thread, very liquid plaster, Pollock-inspired application, and a joie de vivre that is infectious.
Seeing the end-results of some of the presentations was a lot of fun as well. I got to see stone carvings that were amazingly intricate and plaster pieces that were massive! I also visited blacksmith Owen C Creteau, Jr. and encountered a few pieces he has forged that puzzled me. The first were some amazing puzzles he has forged out of nails and other small metal pieces. The second was larger piece he had arranged on a table with the candlesticks, fire pokers, and other more readily-identified pieces. I puzzled over it for a few minutes before finally breaking down and asking him. It turns out, this is a toaster. One puts pieces of bread in the middle, then uses the handle to place the whole apparatus on the hearth close to the fire. Once one side is toasted, the piece is lifted by the handle and turned so that the other side is close to the fire. Ingenious!
The International Preservation Trades Workshop was a great deal of fun and a source of inspiration to me as a preservationist. I was able to close my weekend by giving back. The National Trust happened to be holding a  work day at nearby Fort Wayne. Like many formerly active military installations around the country, Fort Wayne has facilities that span more than a century of construction techniques and had been badly neglected before being turned over to the city as a park. Throughout the day Sunday, more than 300 volunteers scraped and painted wood porches, built protective coverings for vulnerable building fabric, and re-glazed (in place) dozens of windows on former officer’s quarters. I participated in the latter and, I hope, we bought these historic materials a few more years as further funds are raised to do more.
I do have one lament, over and over, I heard people complaining that young people don’t want to go into the trades, even as half the conference attendees where under the age of 40. At the same time, I overheard a conversation in which someone was scoffing at the idea of paying an intern or an apprentice. In a city like Detroit, where renewal and gentrification are going hand in hand, I would like to see our elder statespersons embrace the opportunity to pass their knowledge and skills to the new generation, which means acknowledging that the upper middle-class students who could take on an unpaid internship are unlikely to be interested in manual labor. Offering a stipend, even a small one, that allows a student with the interest but not the finances to spend a summer (or a few years) learning from a master craftsperson is a way to preserve the knowledge and to help mitigate the effects of gentrification. Extending a hand to the urban poor, those who have grown up with the devastation that generations of economic disinvestment have wrought in their cities, is a way we can use preservation to create social good.